Do it Yourself: Bike Lessons for your kid
How we taught our kid to ride a bike
We don't have a car and bike a lot, so our child has been exposed to bicycles practically since they were born. We weren't sure what this would mean for how quickly our child would take to riding a bike of their own. And we were of course hoping to try to maintain their interest in bikes so they'd want to learn.
Balance bikes vs bikes with training wheels
I learned to ride on a bike with training wheels, as did most people my age. I have nothing against training wheels, but thought it'd make more sense for our child to first learn balance and handling. This can be done while scooting and gliding on a balance bike. I had noticed that some smaller children lack the leg strength to pedal. They are able to more easily sit and walk or glide on their bikes and move they way they want to on a balance bike.
Kids can absolutely fly on balance bikes if they want to:
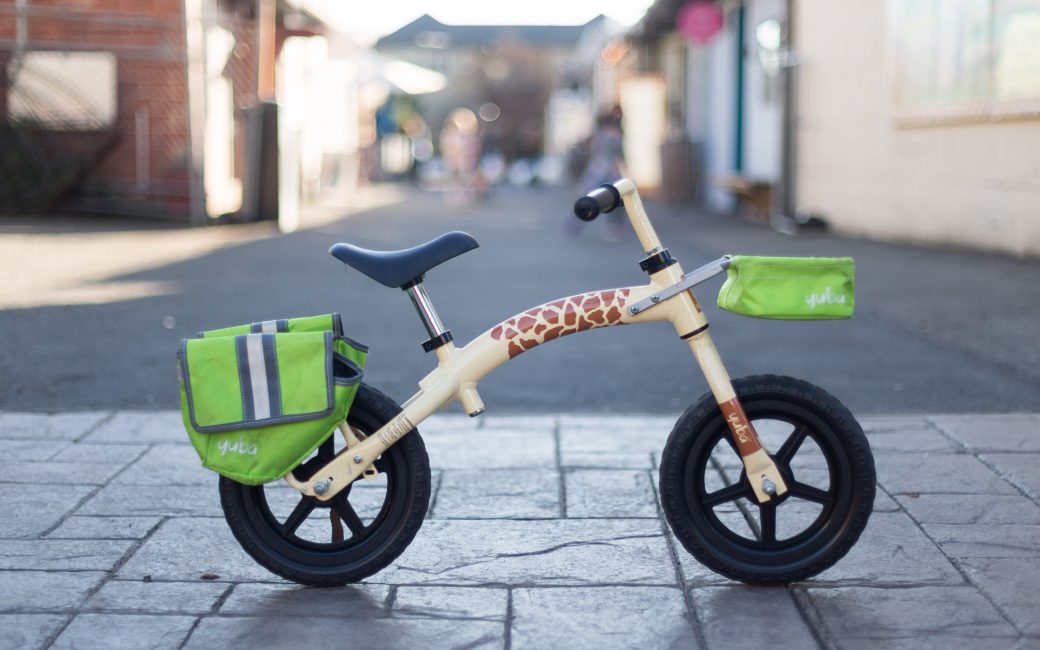
Our balance bike: A Strider and then a Yuba Flip Flop
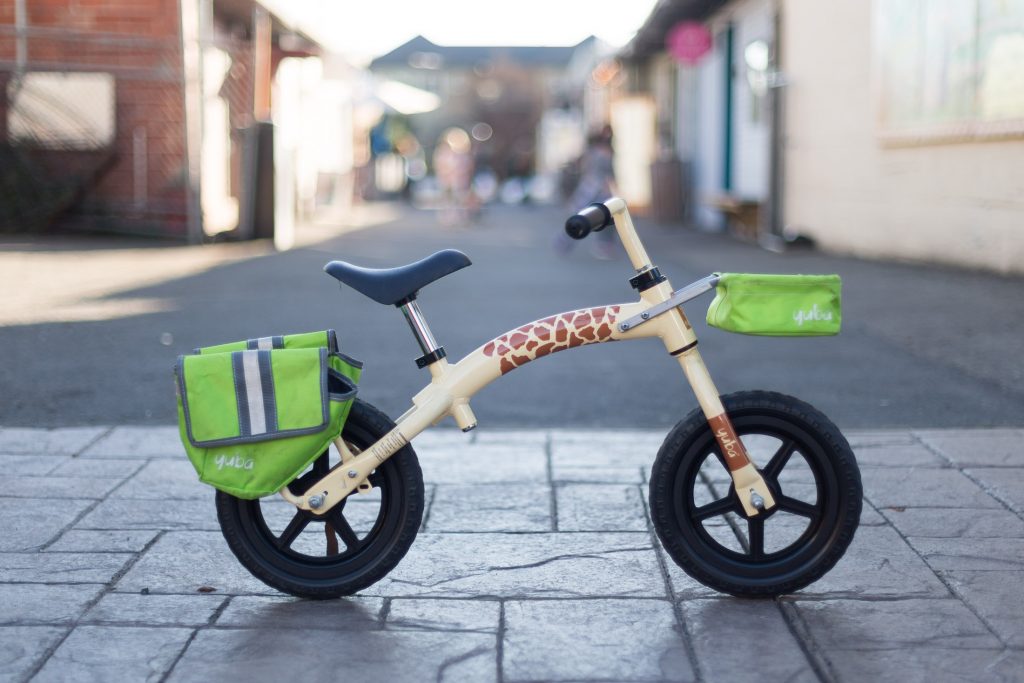
We purchased a Strider balance bike but soon switched to a Yuba Flip Flop (since discontinued). We only switched because we saw the Yuba Flip Flop at an event and our kid loved being able to use the basket and panniers that came with the bike. The Yuba Flip Flop was a cargo balance bike for toddlers. I hope it comes back one day. They both came with small wheels (I think 12"?) and worked great for our kid starting at an age of about 18 months.
Our child started by just sitting on the saddle and waddling on the bike, and slowly progressed to walking with the bike. It took a while to get to the point where they could glide for more than a few feet at a time.
You can set a pedal bike up as a balance bike by just removing the pedals. Usually an adjustable wrench is all you need to do the job. Most pedals require a 15mm wrench. Just remember that the pedal on the left side is reverse threaded.. so you will need to counter-intuitively need to turn the left pedal clockwise to loosen. The right pedal is threaded normally.
Make sure your child can comfortably sit on the saddle with their feet flat on the ground. You can start raising this when they feel comfortable sitting and walking on the balance bike.
Balancing and turning and gliding
After a while, your child will feel comfortable waddling and shuffling while on the bike. They will probably start progressing to walking with the balance bike. They will be able to turn the handlebars if they want to steer and they'll probably learn to intuitively use them to help maintain balance. Once they can walk with the bike, they will "graduate" to gliding. They'll be able to hold their feet off of the ground and glide for a few feet at a time without having to put a foot down. When they move on the bike, they'll look like they are swinging their legs to move rather than walking while sitting on the bike. Most balance bikes don't have brakes, so they'll probably drag their feet to stop, and probably get into a few crashes while starting to learn to turn.
This was okay with us; it was important to let our kid experiment and take risks in a low-severity environment. We practiced in a protected alleyway, on calm sidewalks, and at a school play yard.
Learning the pedaling motion on the bike: A bike lesson I didn't think I'd have to teach
I thought that the pedaling motion would be easier to teach. We had a tricycle stroller with pedals so a child could slowly pedal it forward and practice the pedaling motion. When our child was 4, we tried having them glide on a pedal bike. They weren't into it at all. The pedals got in the way of gliding, and it was too scary and frustrating for them to try to pedal. I think it came down to being comfortable with pedaling in general.

We took out our Weehoo trailer (a recumbent trailer that attaches to the back of your bike via the seat post) more so our child could practice pedaling. This seemed to help. I had to explain and demonstrate how pedaling in one direction made it go forward. And I also had to show that pedaling in the opposite direction made nothing happen (The Weehoo trailer had a freewheel).
Eventually it came together. The kid had fun pedaling the both of us forward while I took my legs off of the pedals.
Putting it together
Our child was gifted a nice used bike after they turned 5. They took to it right away and even started pedaling away while we weren't looking.
What about braking?
Braking was something new to learn. We chased after our kid and they used their feet to stop safely. The used Islabike that we received had a coaster brake in the rear and a brake in the front. Funnily enough, I think the coaster brake is there as a result of an antiquated law. It requires children's bikes in the USA to have a coaster brake instead of a rim brake with levers on the handlebar. Some resources (such as Two Wheeling Tots and Rascal Rides) recommend against coaster brakes. Being able to move the pedals backwards can help with balance and preparing to stop and go.
The coaster brake and hand brake took a little getting used to and quite a few reminders over the first few rides to remember to use the brakes to stop. But it wasn't much of an issue overall.
After they can ride a bike
We started out with our child riding on the sidewalk. Being respectful of others who use the sidewalk, we rode on the street next to our child. It didn't feel great to ride so far away from our child, but the sidewalk felt safer than the road. Sometimes it is, sometimes it isn't. There are other hazards on the sidewalk, such as people pulling in and out of their driveways. They are usually not expecting or looking for someone moving on the sidewalk, so this can be dangerous. We switched to riding on the road after 6 months or so. This was aided by the Slow Streets (RIP) that the City of Oakland implemented when COVID started.
There's a lot to talk to a kid about regarding road safety. And we were worried about about visibility. In the fall hours, a child's bike is so low to the ground that it might not be visible to drivers of cars that have been steadily growing in size. I made a bike pole light (with bike safety flag) and we bought some bike lights to help keep our child visible. We also purchased some fenders and a poncho for the riding a bike in the rain.

End your bike lesson with a celebration!
I definitely recommend celebrating when milestones are reached! Have a special treat and make sure you include yourself too!
What the experts recommend
There are a lot of resources out there, and think that Two Wheeling Tots gives some of the best advice for how to teach a child to ride a bike. In general, their process is:
- Set up the bike
- Sit and walk on the bike
- Learn to glide
- Add pedals
- Get a moving start, then pedal
I recommend also checking out their guide for details!
How we teach adults
I'm learning to teach adults to learn to ride a bike, and have just become a certified instructor. Bike East Bay offers free bike lessons for adults, and they are really effective. It's different as an adult. You might have a lower risk tolerance since there's a larger distance to fall and you know you won't heal as quickly. You might have worried about not being able to ride a bike for decades. But, you might also be able to more quickly grasp concepts and have a lot more mental stamina for learning. The steps are not too different than what is recommended for children. Here are the first steps.
- Set up the bike saddle height so that your heels can touch the ground. Make sure the helmet fits and is adjusted properly. Remove the pedals from the bike.
- Learn to get on the bike.
- Learn to get off of the bike.
- Practice walking with the bike (while sitting on the saddle, not walking beside it)
- Get comfortable with gradually braking.
- Glide/Scoot on bike. Allow yourself to build up a little bit of speed so you can travel a few feet without putting your feet down. Practice turning handlebars into the way the bike is leaning to balance.
- Practice turns
- Practice standing on the pedals
- Learn the "power position" to help you get pedaling from a stop

 to help kids joyfully bike to school")


