Getting a flat tire on your bike sucks - usually
The weather was pretty nice on Saturday, and my partner, kid and I were headed back to Oakland after a soccer game. We had left Alameda and were heading back home along the Embaracdero. It was a pretty calm ride, as we were all tired, and we weren't trying particularly hard to ride fast.
Thousands of sparkly obstacles
We approached Nido's Backyard as we rode along the Embarcadero. We noticed a lot of glass in the bike lane. This isn't unusual, as this area is notorious for having pieces of broken glass everywhere in the bike lane and on the road. We tried to avoid the thousands of shards as well as we could. It's difficult to do, because it's not easy to exit the bike lane on short notice due to the high traffic speed of the roadway. You have to check for cars whizzing by.
This time, we had another obstacle to deal with. Instead of a car whizzing by, there was a stationary one. There was a silver SUV parked in the bike lane. The Embarcadero, in this part, at least, has hollow plastic bollards for a protected bike lane. Harder protection would be better, but plastic bollards do beat paint by a good margin. There is a break in the bollards for cars to enter a driveway to a parking lot, and somehow this driver had managed to position their car perpendicular to the entry, blocking our path. This was unsafe and annoying, so we scanned behind us and merged into the car lane to pass. I glanced over as we passed. The driver appeared to be playing a game on their phone.
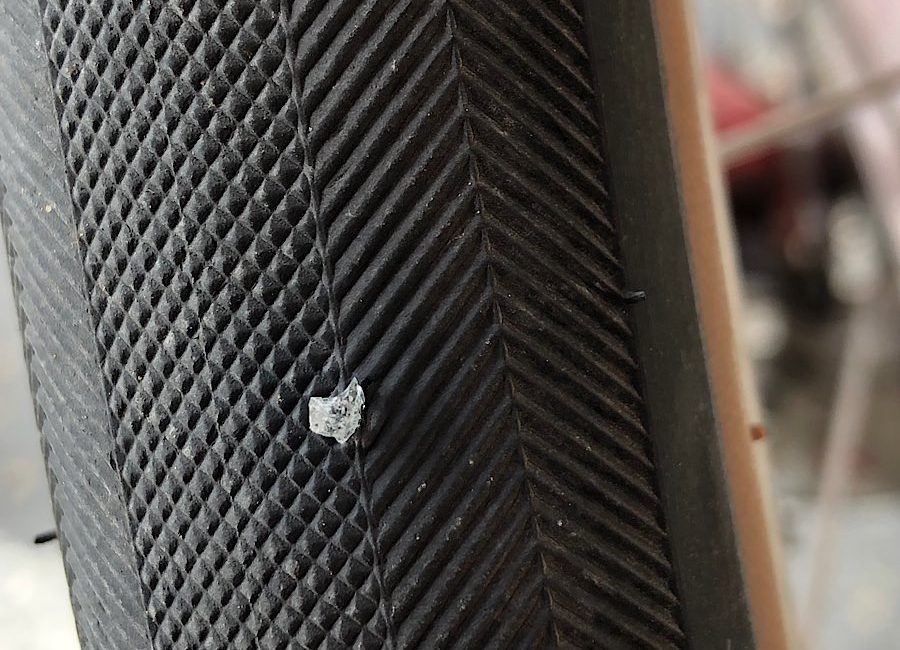
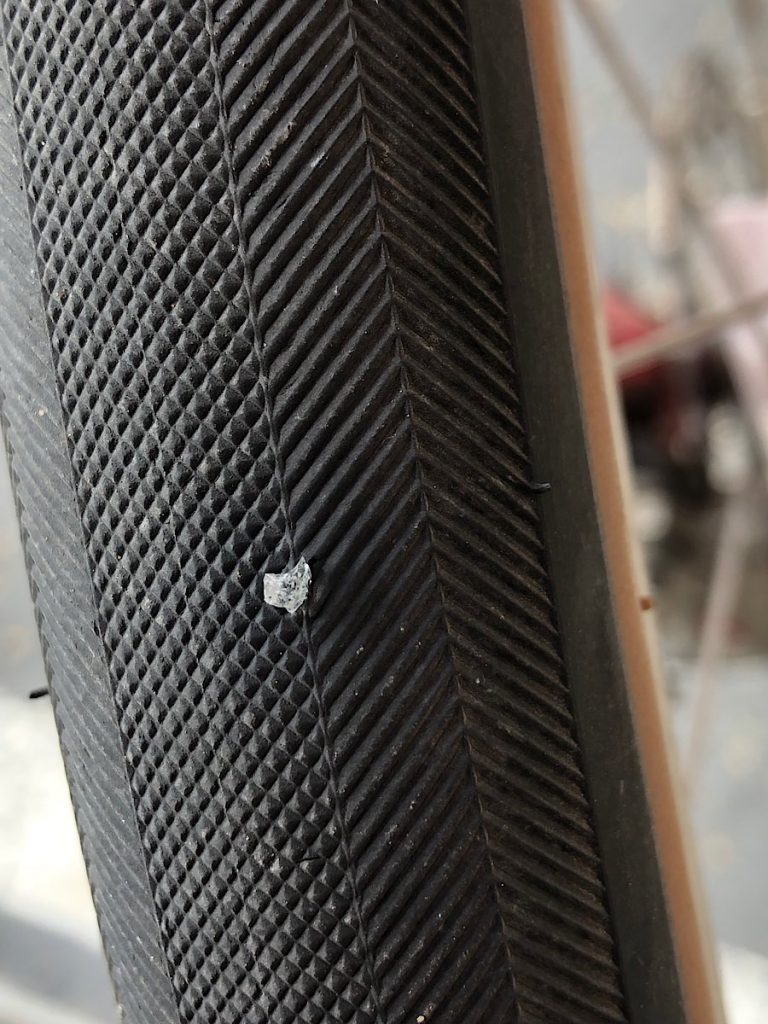
We managed to pass the car safely. About a block later though, I heard a hissing sound coming from the front tire. I slowed down and looked down. The hissing had a cyclic nature to it and as we slowed further, I saw the bit of glass embedded in the tire.
A handy repair
Luckily it was a slow leak, and I was able to easily pull over into a parking lot to check out the situation further. My partner was up way ahead, so I called her on my phone and told her that we had to deal with a flat.
I took out the patch kid from my pannier, which contains, among other things, a mini pump, a glueless patch kit, a scraper, some sandpaper, and tire levers. I've had my share of flats (and have taught a class on how to fix them) so in case anyone out there needs tips for how to patch one, here's what I did (though I did take a couple of shortcuts):
- I leaned the bike against a wall. Normally I find it easier to turn the bike upside down to remove a wheel, but we had a big honking tandem, I was tired, and I was sort of interested in cutting corners to get stuff in order more quickly.
- I located the hole. It was pretty easy to do so as I could use my ear to hear the hissing and I could visually see the glass shard. I noted where this was on the wheel.
- The tire was already plenty squishy at this point, but I deflated the tube more.
- Normally here, I'd have the bike upside down and I'd remove the flat tire from the bike. But I opted to try to patch the inner tube with the wheel still on the bike. This is a lot easier if you know where the hole is, and in this case I did!
- I used the tire levers to remove the tire halfway on one side. This allowed me to pull the inner tube out. To confirm the hole location, I pumped up the tube a bit and found the hole where air was escaping.
- I used the metal scraper that came with my patch kit (it looks like a mini cheese grater the size of a nickel) and scraped any "stuff" off of the inner tube. I figure there's some debris and release agent on there that's purposely not supposed to be sticky, and I intended to make something stick to it.
- I used the sandpaper to roughen the area of the flat tire inner tube more and "clean" it more.
- I peeled off the backing of the patch and pressed it firmly over the hole. I use my fingers first, and then the tire levers to apply more pressure to make the patch stick better.
- The patch looked alright, so I added just a bit of air back to the inner tube to give it some shape. I put it back into the tire, and then used the tire levers to get the tire back on to the rim.
- I pumped the tube back up to a reasonable pressure, which was surprisingly quick!
The whole process took about 15 minutes, but it felt longer because I was taking my time. I'd like to say it was because I was being careful, but in reality, I just didn't feel like rushing.
A friendly break
While I was fixing the tire, my kid complained about having to go to the bathroom. They took advantage of the time I spent fixing the flat to do so at a nearby restaurant.
We had a couple of unexpected friends roll by while I was working on the flat tire. I noticed some people standing with their bikes about a block away. They stayed there for a while and I was curious about what was happening. Eventually I heard a familiar voice and saw a familiar face. Kurtis, a fellow bike instructor was helping train future bike instructors. It looked like another bike acquaintance, Benton, was rolling with him.
Then, separately, Jianhan, another bike instructor friend rolled by with their small group.
And then few minutes later, we saw another group of people on bikes roll by. Lionel was leading an art gallery tour and was headed to the Oakland Museum. They hast just come from a gallery and were headed to two more afterward.
It was great to see bike buddies, even if briefly. It was definitely one of those situations that makes you feel more connected to your community.
Holding air
With the flat tire apparently resolved, I reassembled my patch kit and put it and the rest of my tools away. I gave the tire a couple of squeezes and it seemed to be just fine, solid and stable. I put the pannier back on the rack, and we all got back on the bikes. We resumed the ride, feeling a little relieved and glad to have seen some friends. The patch held up just fine, and hopefully it will for a long time!
 in Brentwood. A successful 20-mile adventure by bike!")
 to help kids joyfully bike to school")
")
")
