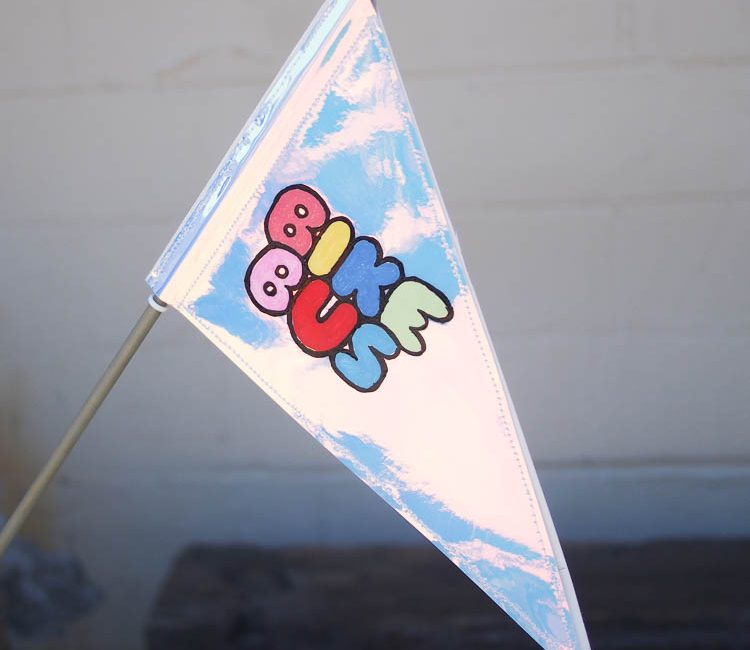
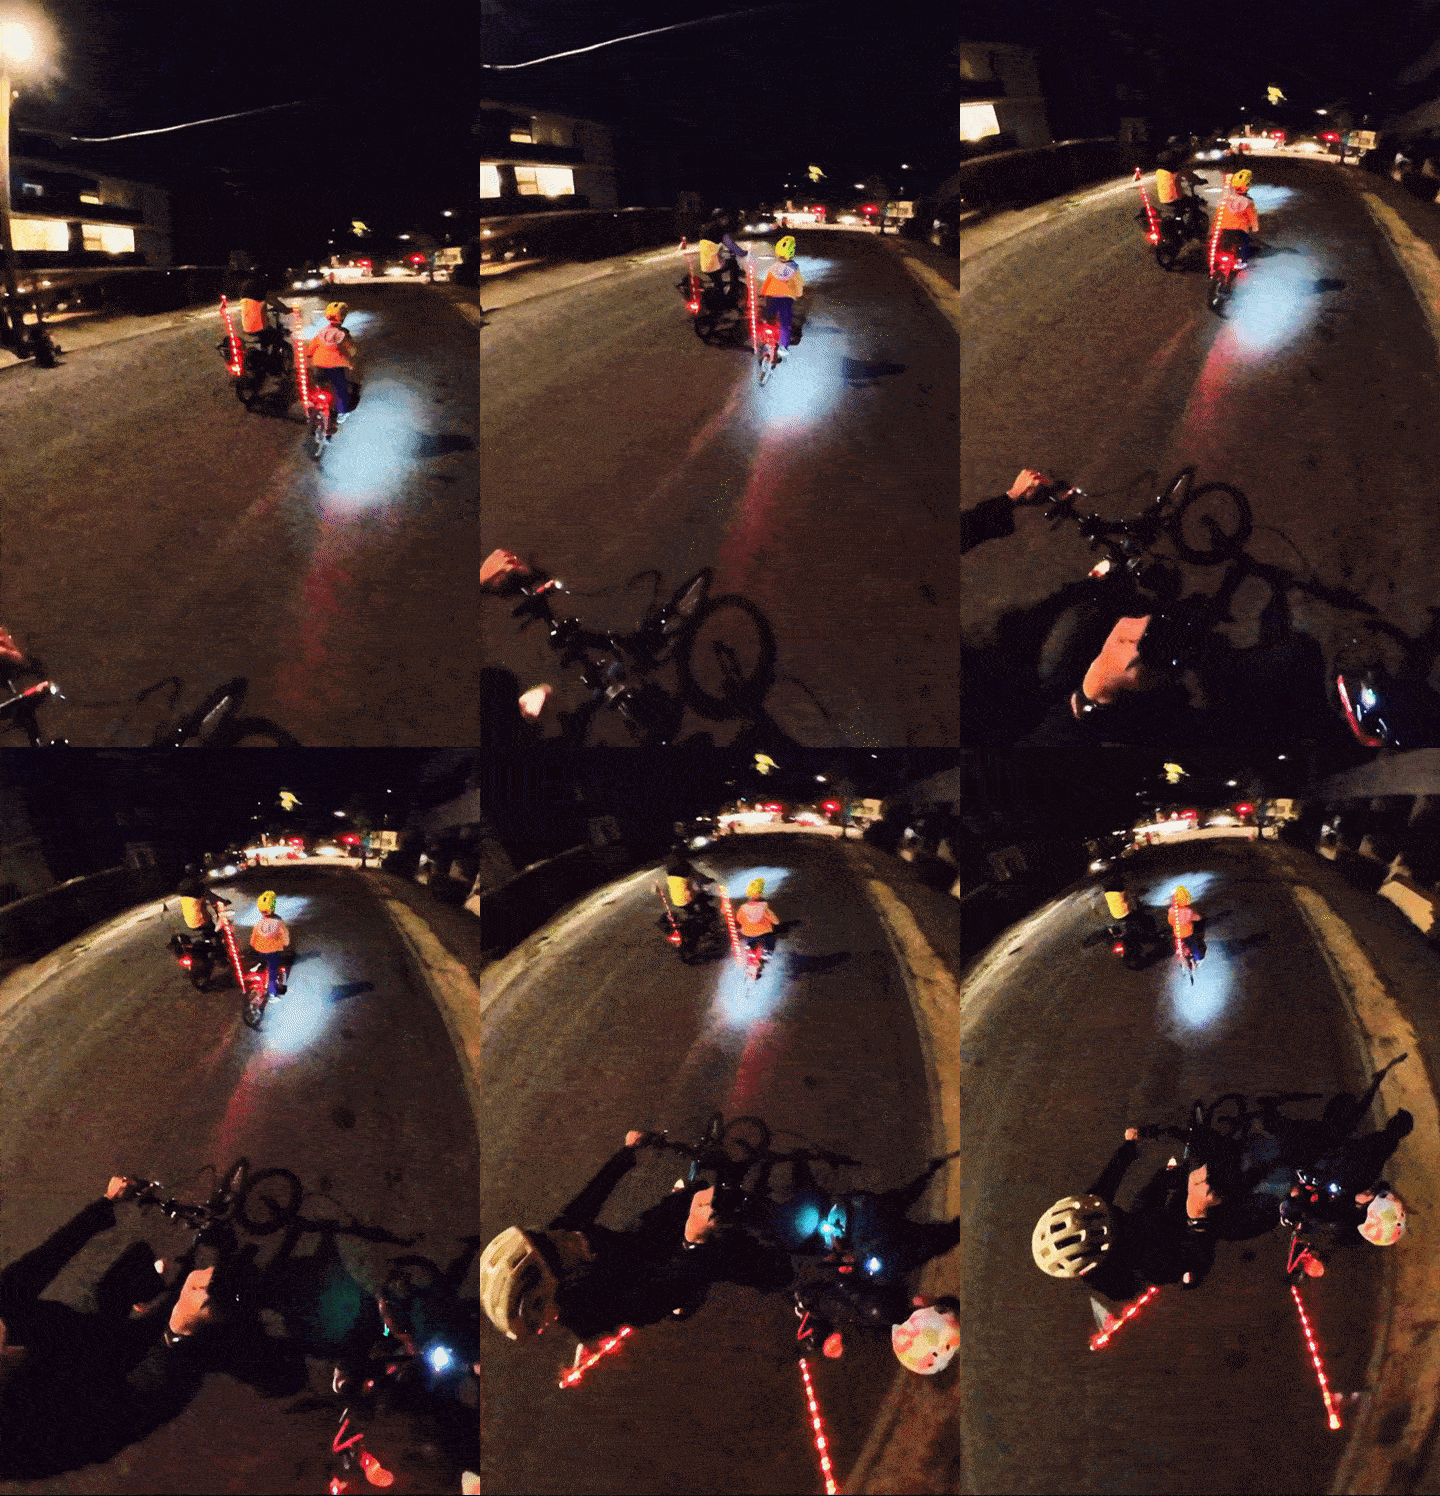
If you have a Bike Beam LED pole light, but don't have a safety flag (or some other flag/pennant etc) on it yet, here's how to add one. Having a flag generally helps with dynamic daytime visibility, they're fun, and you can add your own message to your bike ride as well. They're useful to help people visible on kids bikes and cargo bikes, or to add some fun to your commute. Some people have used them for Bike Party, Loud and Lit, and Thursday Night Rides.
Step 1: Find or make a flag for the LED pole light that is the right size
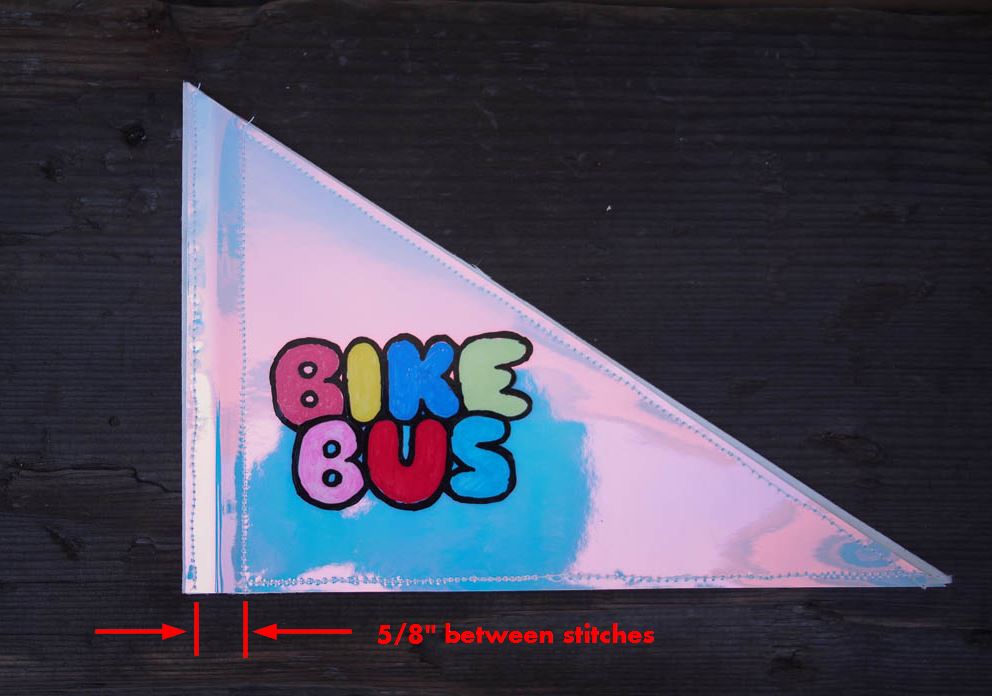
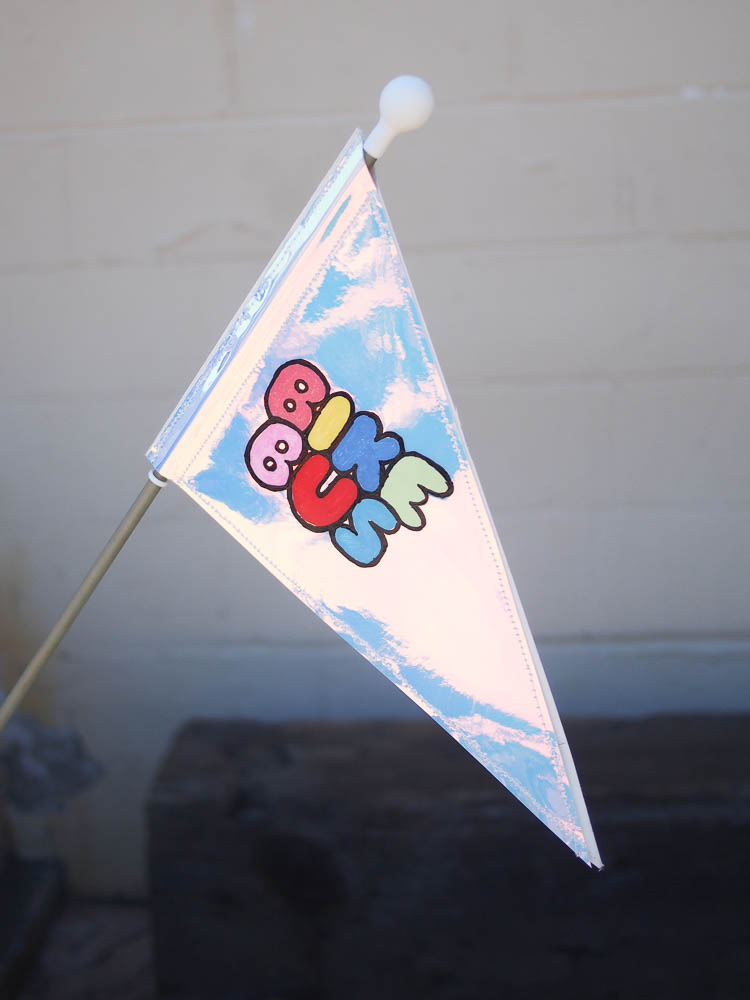
The Bike Beam has poles that are about 5/16" or 8mm in diameter, so consider this when figuring what to fly on the LED pole. The Bike Loud PDX and Pedalpalooza pennants I have are sewn (as in photo above) with 5/8" between stitches, which makes for a tight-ish fit where the pennant/flag can move around a little bit, but stays mostly in place. When I made the Bike Bus flag, I sewed the seams the same distance apart. The Bike Bus flag is made of a more rigid material, so it doesn't move around as much as the Bike Loud and Pedalpalooza pennants.
How big can the bike flag be?
You have about 26" to work with before the bendy pole junction, so the Bike Beam can accommodate a lot of flag. The largest I've flown (so far) is this big:
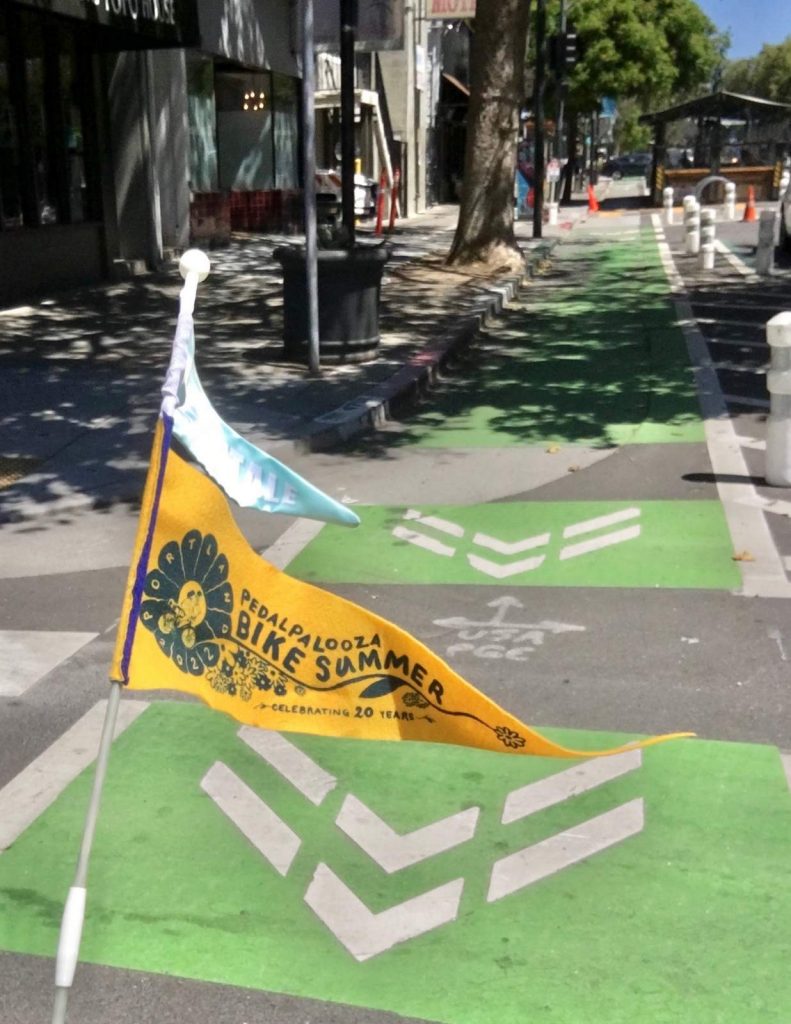
The pennants are about 8.5" tall by 22.5" wide. A standard orange vinyl bike safety flag for a bicycle is small in comparison, and you won't have any trouble fitting that. Above a certain weight, you might run into issues with the LED flag pole swinging around a bit. If you need a data point, I've run a camera that weighs about 170g on the top of the pole, and it swung around a little more than I'd like.
Step 2: Remove the ball top cap of the LED flag pole
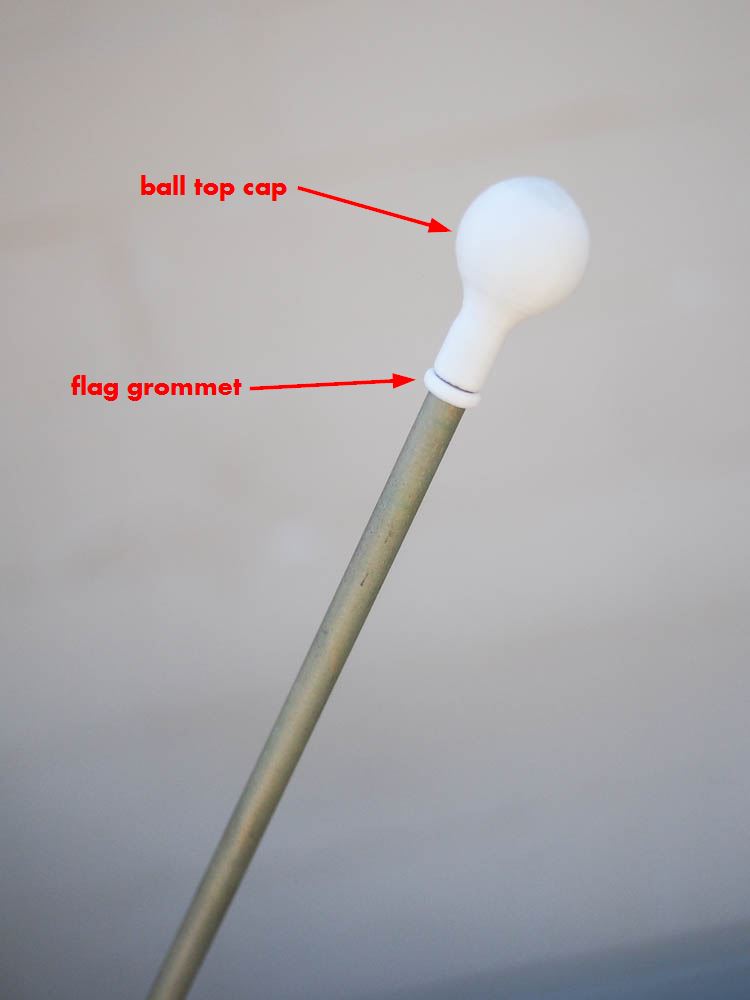
The ball on the top of the Bike Beam LED pole light is there to protect people from getting poked. It's sort of stretchy and fits over the bi. You can pull this off with a little bit of wiggling and pulling up. I ship current versions of the Bike Beam with the flag grommet underneath. This little ring stays at its height via friction and is there to keep the flag at the top of the LED flag pole. You can move it up and down and set it to stop a flag from sliding all the way down a pole.
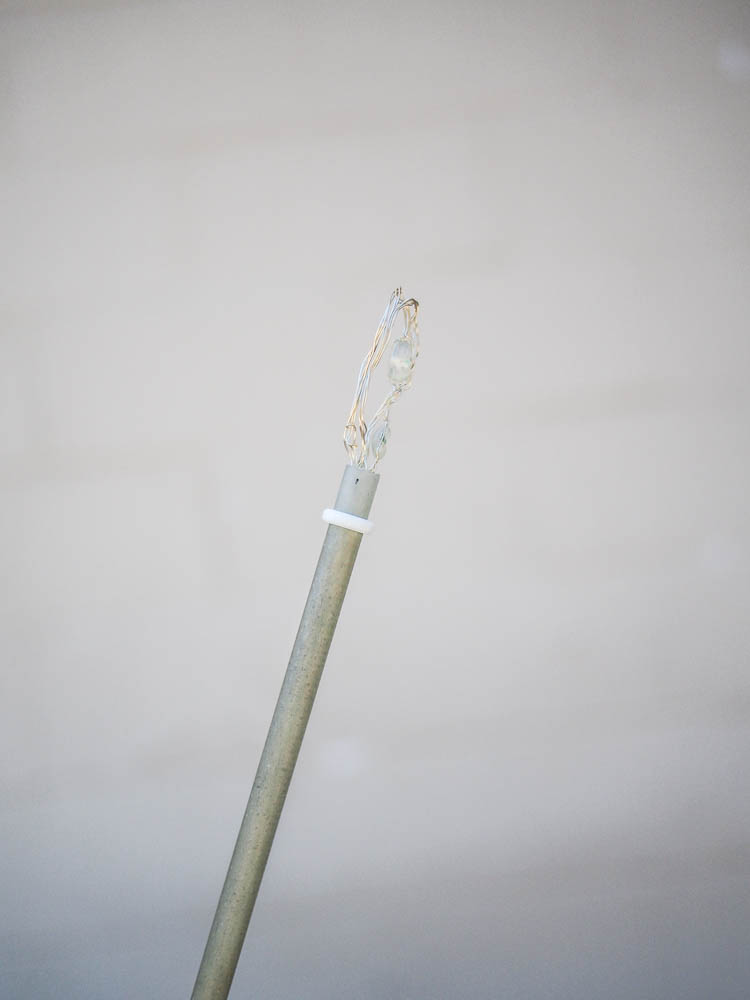
When you pull off the ball top cap, you will see the LEDs inside the flag pole.
Step 3: Slide the flag grommet down to accommodate the height of your flag
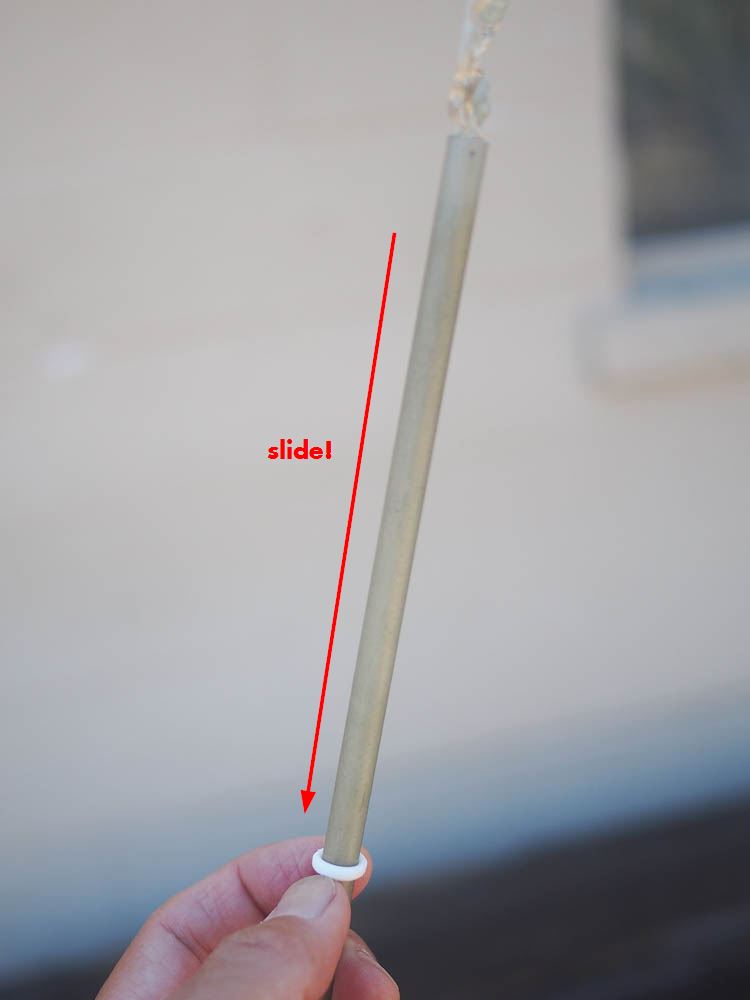
Now you can then slide the flag grommet down far enough to accommodate the height of your flag.
Step 4: Add your flag onto the LED pole light
First, feed the LED string into the area for the flag pole. Try to prevent the LED string from folding over itself.
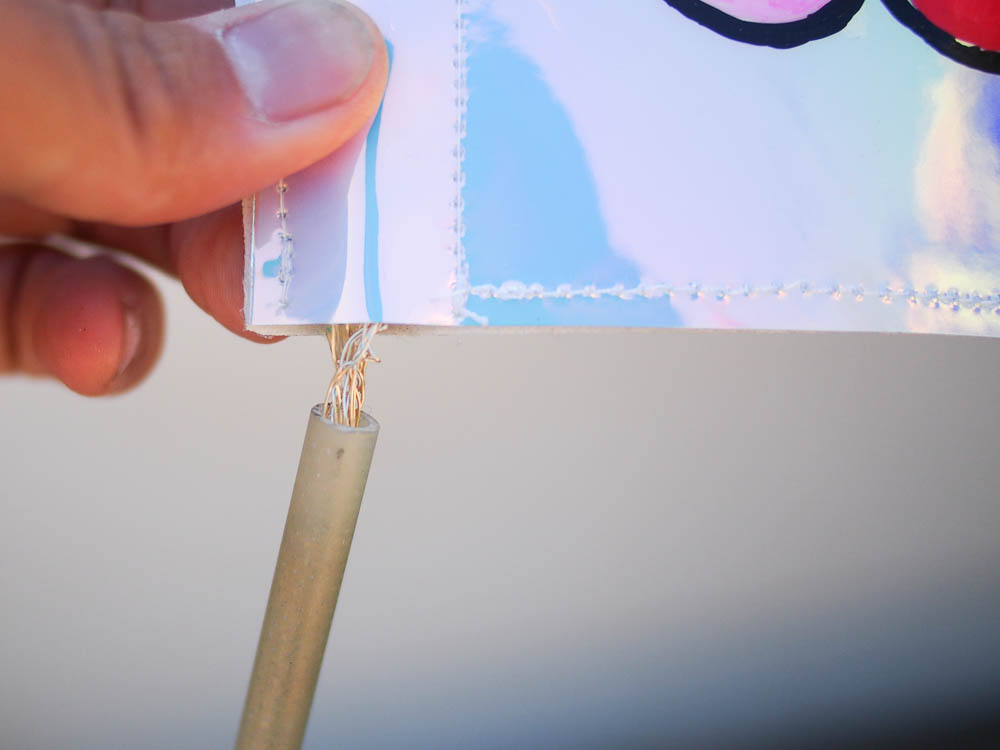
Then you can slide the Bike Beam LED flag pole into the flag sleeve.
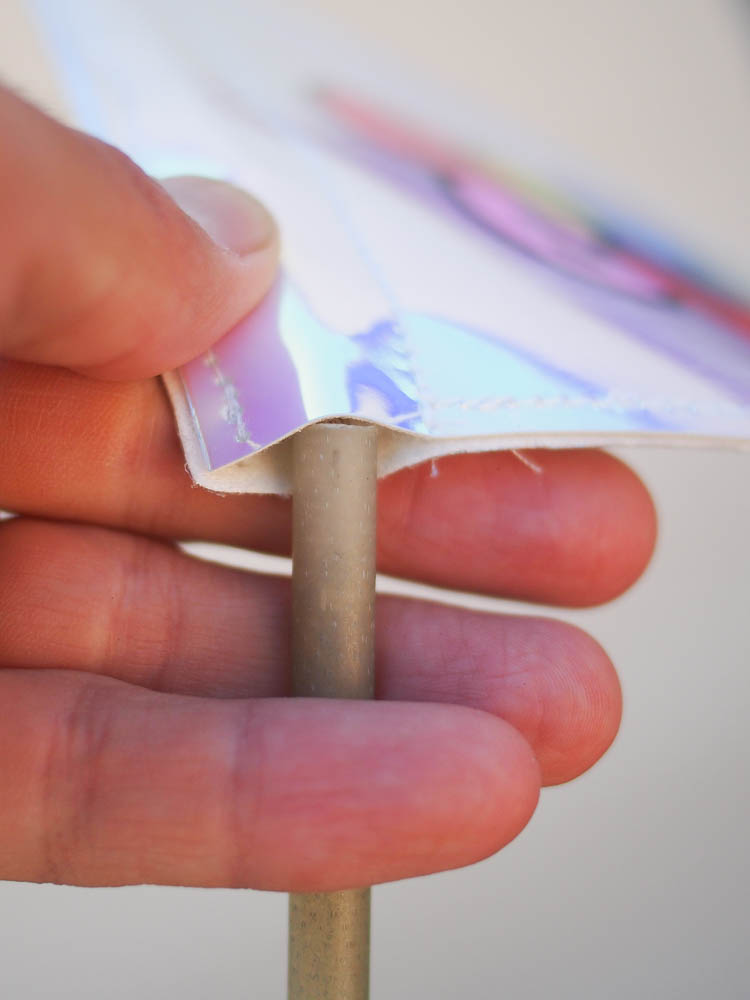
Slide the bike flag down until the pole is in the sleeve.
Step 5: Adjust the bike flag and flag grommet height
Slide the flag down (and slide down the flag grommet, as necessary) until you have about 1/2" of pole above the flag.
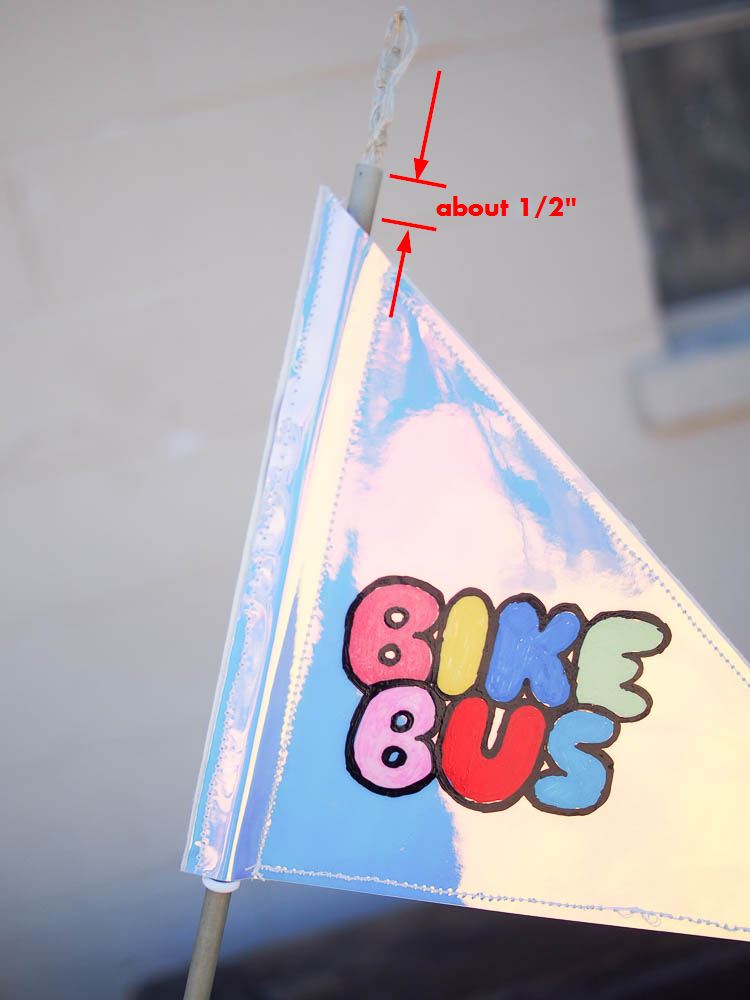
Step 6: Put the ball top cap back onto the top of the LED flag pole
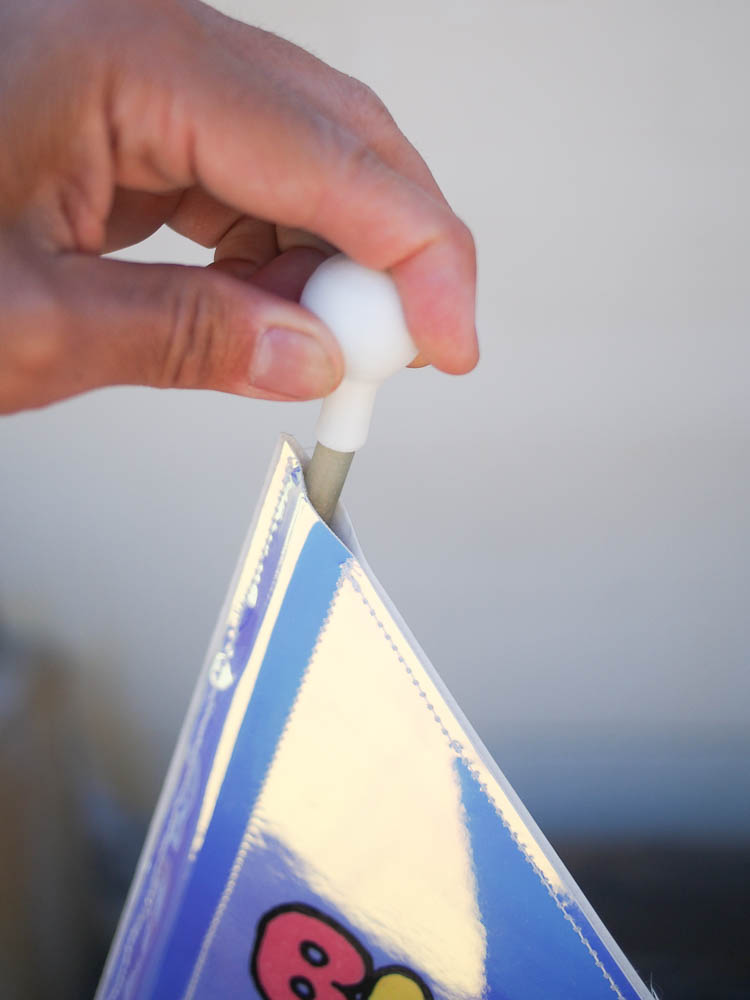
Push the ball top cap back onto the top of the flag. You should be able to push it down enough to overlap the LED flag pole by about 3/8". Some of the LED wire will stick into the ball. This helps the ball light up!
Wiggle the ball back and forth as you push down for better engagement. Make sure it's down far enough so it doesn't fall off inadvertently.
You're done!
Enjoy flying your bike flag on the Bike Beam! Send me some photos as I'd love to see what you're flying on yours.
